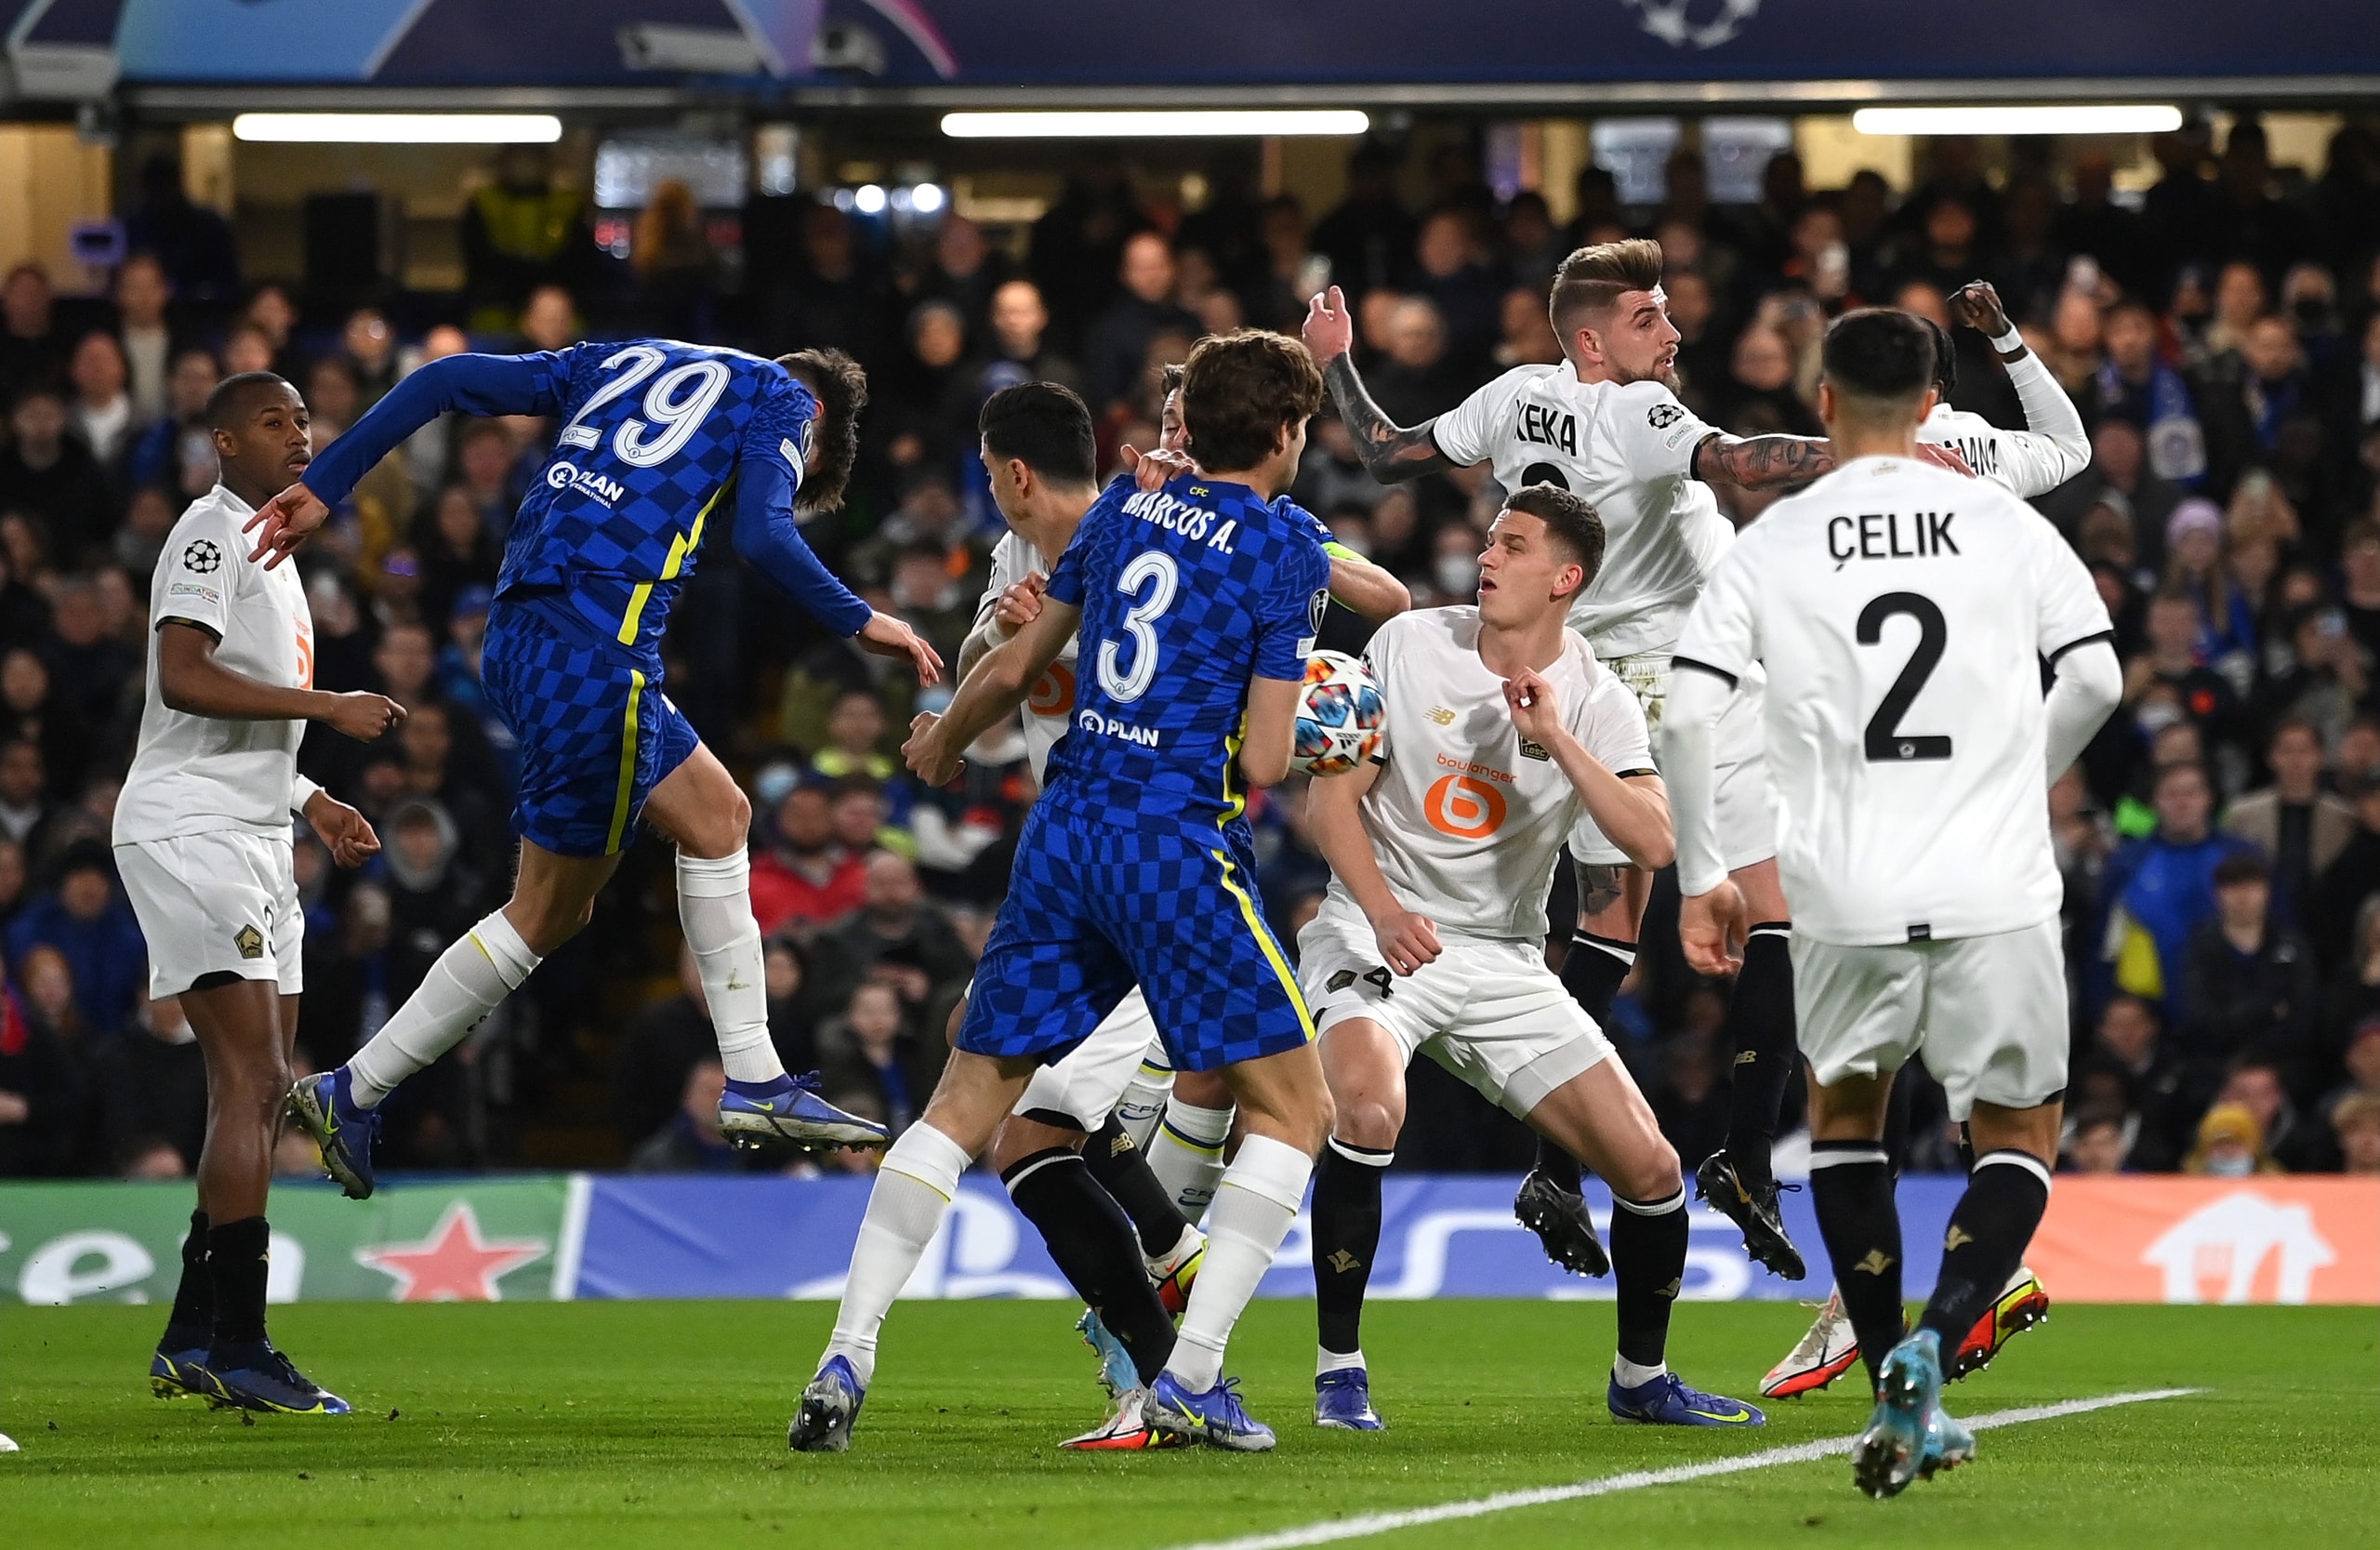
- How Chelsea beat Lille’s high press.
- The importance of the “free man” in Kai Havertz.
- Why Chelsea defended in a mid-low block.
How Chelsea counteracted Lille’s high press
Versus Chelsea, Lille implemented an aggressive high press using a 4-2-1-3 shape as such (A). Here, they hunted the ball as a pack, making them easily manipulated as a result. In this game, Chelsea manipulated the width of Lille’s midfield 3 by recycling the ball amongst their CBs. This created gaps which facilitated progression of play.

When the ball was held centrally, Lille’s press followed creating a narrow midfield 3 as a result. Here, they overloaded centrally (B) to prevent Chelsea from building via their double 6s (C). In response, Chelsea implemented a 3-3-3-1 (D), where their inside forwards dropped deep as a consequence of Lille’s narrow midfield (E). Here, Chelsea’s inside forwards became their main outlet in attack, possessing numerical support to facilitate combination play (F).
When the ball was carried wide, Lille’s press followed again (G). This time, we were forced to progress play through wide overloads (H). This highlights the importance of the “free man”


The importance of the “free man” in Kai Havertz
Due to the relentless nature of Lille’s press, they were able to follow the ball quickly to wide areas and match our wide overload (I). At this point, quick, one-touch football would be required to beat 1v1 markers. And while we were able to do so, making this our sole approach in attack risks dangerous turnovers of play. To avoid such risk, the role of the “free man” becomes vital.
Versus Lille, Havertz roamed into wide areas (J), establishing numerical superiority and becoming the “free-man” in our overload. If you look closely, you would notice that there is now a 2v1 situation against the opposition’s fullback (K), allowing both our ST and inside forward to become references of play. Here, Kai made himself readily available by constantly making runs in behind or dropping deep as a target-man for his teammates to play off of.


As a result, most of what came good of our attack involved Kai. This is a testament to his immense work-rate and the way he seamlessly glides all over the pitch, making himself readily available to help where needed. From central to wide areas, Kai Havertz is a real asset to Chelsea’s attack when he plays as a no.9.
Why Chelsea defended in a mid-low block
As the game went on, Lille grew more and more into the game. Was this on purpose or by coincidence? To counteract Lille’s 4-2-3-1 in attack, Chelsea defended using a 3-3-3-1. Here, Chelsea gained numerical advantage over Lille’s DMs and AMs (L), forcing their 6s to drop deep to avoid pressure in possession (M).
At this point, Chelsea’s 1st line of defense pressed slowly, luring Lille’s 6s into playing vertical passes to central midfield. Here, Chelsea hunted the ball like wolves (7v4), winning possession and countering continuously from central areas (N). This is the reason why we saw the likes of Kante and Pulisic breaking away so much, resulting in a back and forth game for both teams.


Where do we go from here?
Next up, we have a huge cup final against arguably one of the best teams in Europe. The major question remains however, do we stick with Kai as our no.9 or do we bring out-of-form Lukaku back into the fold? Let us know in the comments below and why.
Written by: Ryan Gunness

